From Text Prompt to Album Art: A Beginner’s Guide to AI Cover Design
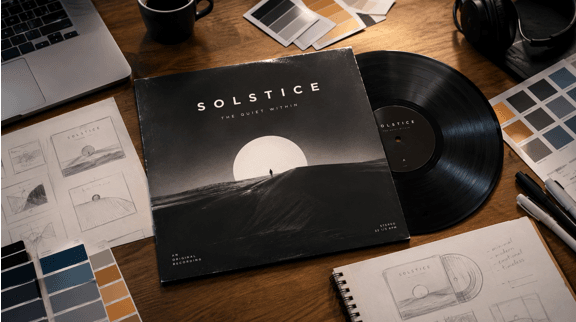
Music packaging lives or dies on tiny screens. Before someone streams a track, taps a snippet on TikTok, or shares a playlist in Discord, they see a square image about the size of a postage stamp. As the long history of cover art proves, album visuals always shift with formats, moving from gatefold vinyl sleeves and jewel cases to digital tiles that have half a second to grab attention.
You do not need an art degree, expensive design suites, or an agency budget to create memorable artwork for internet music culture. By understanding core aesthetics and writing deliberate prompts, anyone can generate striking cover graphics in minutes.
Deconstructing Viral Aesthetics: Brat Minimalism, Y2K, and Shoegaze
Memorable cover art rarely tries to do everything at once. It commits to a visual subculture that fans immediately recognize. Before typing prompts, pick a direction that matches your sound:
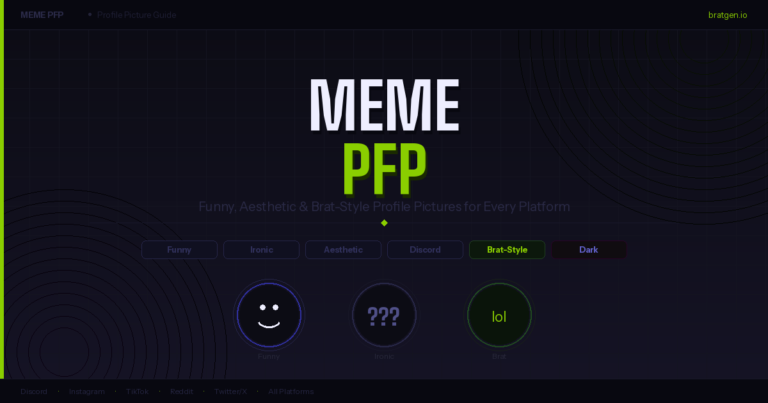
- **Brat Anti-Design:** Strip away visual polish in favor of raw simplicity. A flat, electric lime-green canvas paired with unadorned, slightly blurry sans-serif type cuts through clean feeds precisely because it rejects corporate gloss. It carries club energy and DIY irony without extra decoration.
- **Y2K Cyber-Chrome:** Liquid chrome shapes, metallic textures, holographic sheen, and fisheye lens angles. This look channels early-2000s dance music, video game menus, and futuristic nostalgia.
- **Shoegaze and Dream-Pop:** Washed-out pastel palettes, light leaks from expired film, heavy grain, and soft out-of-focus subjects. The mood feels intimate, nostalgic, and lo-fi.
- **Underground Club Grime:** Dark concrete backgrounds, harsh xenon flash, neon puddles, motion blur, and high contrast that mimics a sweaty warehouse venue.
Identifying these visual tropes gives you the vocabulary you need to guide an image prompt effectively.
Prompting for High-Impact Visuals
Generative tools struggle when prompts are overloaded with vague buzzwords like “masterpiece,” “epic,” or “hyper-detailed.” These fillers dilute the composition. Clear, focused parameters yield much cleaner results.
Build prompts around three essential components:
- **A Single, Distinct Subject:** Pick one focal element rather than an entire busy landscape. A melted chrome cassette tape, a single plastic daisy in a cracked concrete lot, or a vintage TV glowing in a dark room creates an immediate anchor for the viewer’s eyes.
- **Specific Lighting Direction:** Dramatic lighting gives digital art depth. Use technical cues such as “harsh direct flash against a dark backdrop,” “cool blue rim lighting,” “overcast diffuse daylight,” or “stark overhead spotlight.”
- **Physical Finish and Grain:** Digital renders often look too smooth out of the box. Ground them by naming physical textures: “35mm grain with light dust scratches,” “risograph halftone printing,” “glossy plastic surface with sharp reflections,” or “rough photocopier paper texture.”
For instance, if you want an alternative electronic mood, combine these pieces into a prompt like:
*”A cracked flip phone floating in dark murky water, harsh direct flash, high contrast, glossy reflections, subtle chromatic aberration, 35mm film grain.”*
If you’re unsure how to phrase a detail, browsing prompt examples helps — you’ll quickly spot the subject-lighting-texture pattern that separates usable prompts from vague ones.
Generating Your Cover: From Concept to First Render
Once you have your aesthetic blueprint, open Nano Banana Pro in your browser and start testing ideas. It’s a free AI image generator with no sign-up required, so you can go from prompt to first render without dealing with accounts, credits, or complicated command-line tools.
When your initial image appears, inspect it with music-streaming constraints in mind:
- **The Thumbnail Test:** Zoom out until the image is roughly 80 by 80 pixels. Does the main subject still read clearly, or does it dissolve into visual clutter?
- **Compositional Balance:** Is the silhouette centered or framed with intentional negative space?
- **Text Accommodation:** Did the generation leave an uncluttered area where you can place an artist name and track title later?
Do not ask the generator to render your typography. Generative models frequently warp letterforms and misspell words. Treat the generator as your background painter and conceptual photographer, leaving the text layout for a dedicated editor later.
Refining with Image-to-Image and Adding Final Typography
First generations are rarely flawless. The composition might be right, but the colors look dull, or the lighting lands in the wrong corner. Rather than scrapping a promising concept, take advantage of image-to-image workflows.
Most modern generators ship image-to-image alongside text-to-image. Feed your initial output back into the same generator you started with, keeping the core composition intact while adjusting the prompt to tweak specific details, such as requesting “stronger contrast, warmer ambient light, heavy analog film grain.” This step-by-step approach lets you refine the mood without losing the shape you liked.
Once you have an image you like, export the full-resolution square graphic and bring it into any free graphic editor like Photopea or Canva.
Match your typography to the style of the base art:
- If you built a minimal brat-inspired visual, stick with plain, heavy sans-serif fonts centered in the frame. Leave the tracking standard and skip drop shadows.
- For analog dream-pop or shoegaze styles, small serif or monospaced lettering placed discreetly along the bottom edge or top-left corner preserves the photo’s intimacy.
- For cyber-chrome graphics, wide futuristic typography or distorted letterforms complement the metallic surfaces.
Export your finished artwork as a high-resolution PNG or JPG at standard square dimensions (at least 3000 by 3000 pixels for streaming distribution). Then run the thumbnail test one last time. That half-second glance on a phone screen is the whole game: if the artwork holds up at postage-stamp size, the track gets its chance to be heard.